For those who are interested, I love to give you a quick update about our orangery redo. (To read part I of the orangery-redo, click here.)
This weekend we prepared the orangery in order to start painting on Monday.
 Shelves before
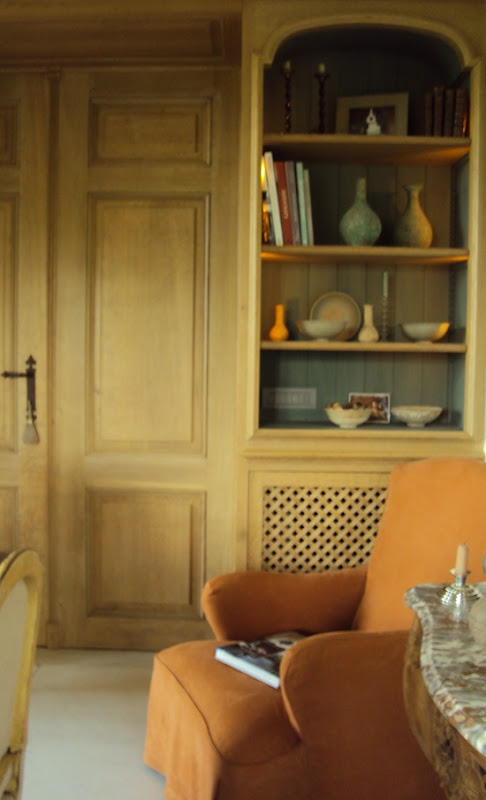
As I wanted the shelves to have a more solid look, Jan made us new shelves and Anthony was assisting Jan to install the new ones.

 Shelves after
 Ralph has his thoughts about the redo of HIS bedroom!
Monday
On Monday morning the painters arrived and started to give the walls a first coating.


At the end of the day the first coating was finished and it looks as this. A very light-colored layer.
Tuesday
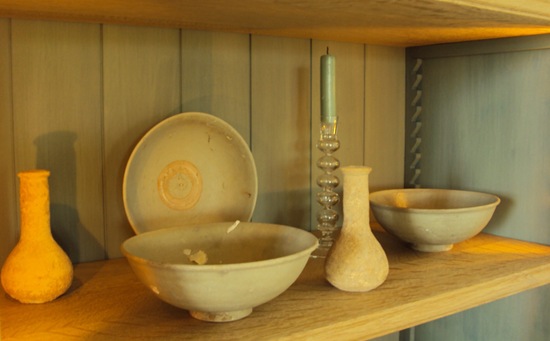
 After having mixed several materials, the painter started to give the walls a coat of plaster. And I was chocked!!! It looked SOOO dark!!! And I wanted to have the walls to look more or less as the color shades of my Syrian vase!!
![foto's 006_thumb[1] foto's 006_thumb[1]](https://blogger.googleusercontent.com/img/b/R29vZ2xl/AVvXsEjzlu0eugyJNIXL05oOK6edNU_2Aw3l16_moX3prPmn8PiD2tQtx0g7ivun-9ZkQPq_nCtRqR_IPlpT1YG0f6XMj18WgBK8NU_BQ1SwePEqXf-sg0NfiZIGikKJDnlS2jsXivZrsy9JIqE/?imgmax=800)
But he assured me that it would be totaly dried up the next morning! And besides, it was only a first plaster coat he had to start with and that definitely is required to bring on the next layers to end up with the limewash finish.

And indeed! This morning it looks as this (picture above)!
So this is the Italian plasterwork that is seen on the walls of old Italian houses.
Today (Wednesday)
 This morning the painters are finishing the plasterwerk. You can see the difference in color of the already plastered wall (windows) and the part above the chimney piece that isn’t plastered yet.
I am so curious about the paint layers which have to be brought on this plasterwork in the next coming days…! At that point we will have to decide about the final shade of color!
I might presume that finally it will looks more or less as the wall on the picture here below.
 image source : here
It all made me thinking of the colors of these Venetian houses.
 source : unknown
And Italian plastered walls as on these pictures.
 source : unknown
 image source : here
 image source : here
 Axel Vervoordt image source Architectural Digest photo credit Mario Ciampi
 AD cover issue April 2011
The cover of the April issue of Architectural Digest looks very promising! The plaster technique on the walls looks gorgeous!
I will share more of the redo in a later post! I hope you liked this orangery-redo story so far?
If you want to know more about the Belgian paint company at work here, please email me at greetlefevre@hotmail.com.
xx

 Brother and sister are hugging!
 My husband and his dearest granddaughter!






![1_thumb[1] 1_thumb[1]](https://blogger.googleusercontent.com/img/b/R29vZ2xl/AVvXsEiVn0hjLWuSTcZ_FT3o8ESAnYh4b5LRMgNHXr0tl3kUXwT1gyeJsnYT_Ma02WKE9D48ayJVlgycKcT-R-vSeYIfasBB-9Dhy5YQii7CnkeJWERJpjRuPPO0eYyzIFvQs8Psr5p6QQR14xQ/?imgmax=800)


 Shelves after


![foto's 006_thumb[1] foto's 006_thumb[1]](https://blogger.googleusercontent.com/img/b/R29vZ2xl/AVvXsEjzlu0eugyJNIXL05oOK6edNU_2Aw3l16_moX3prPmn8PiD2tQtx0g7ivun-9ZkQPq_nCtRqR_IPlpT1YG0f6XMj18WgBK8NU_BQ1SwePEqXf-sg0NfiZIGikKJDnlS2jsXivZrsy9JIqE/?imgmax=800)


